Scratch Coat Completely Done!
First Layer of the Brown Coat
Brown Coat Down the Side
Keeping the Prior Days Scratch Coat Hydrated (also keeping the project looking good)
Brown Coat Down Completed on the West Wall
It Does Need a Bit More Color, the Finish is too Close to Prison Gray.
Sunday, August 29, 2010
Thursday, August 26, 2010
Staycation Days 3-6
Ready for the "Scratch Coat"
Reinforcing for the stucco is a galvanized expanded steel mesh
Reverse progress on the two stairwell windows. They had to be ripped out and replaced with tempered glass since they are located on a stairwell.
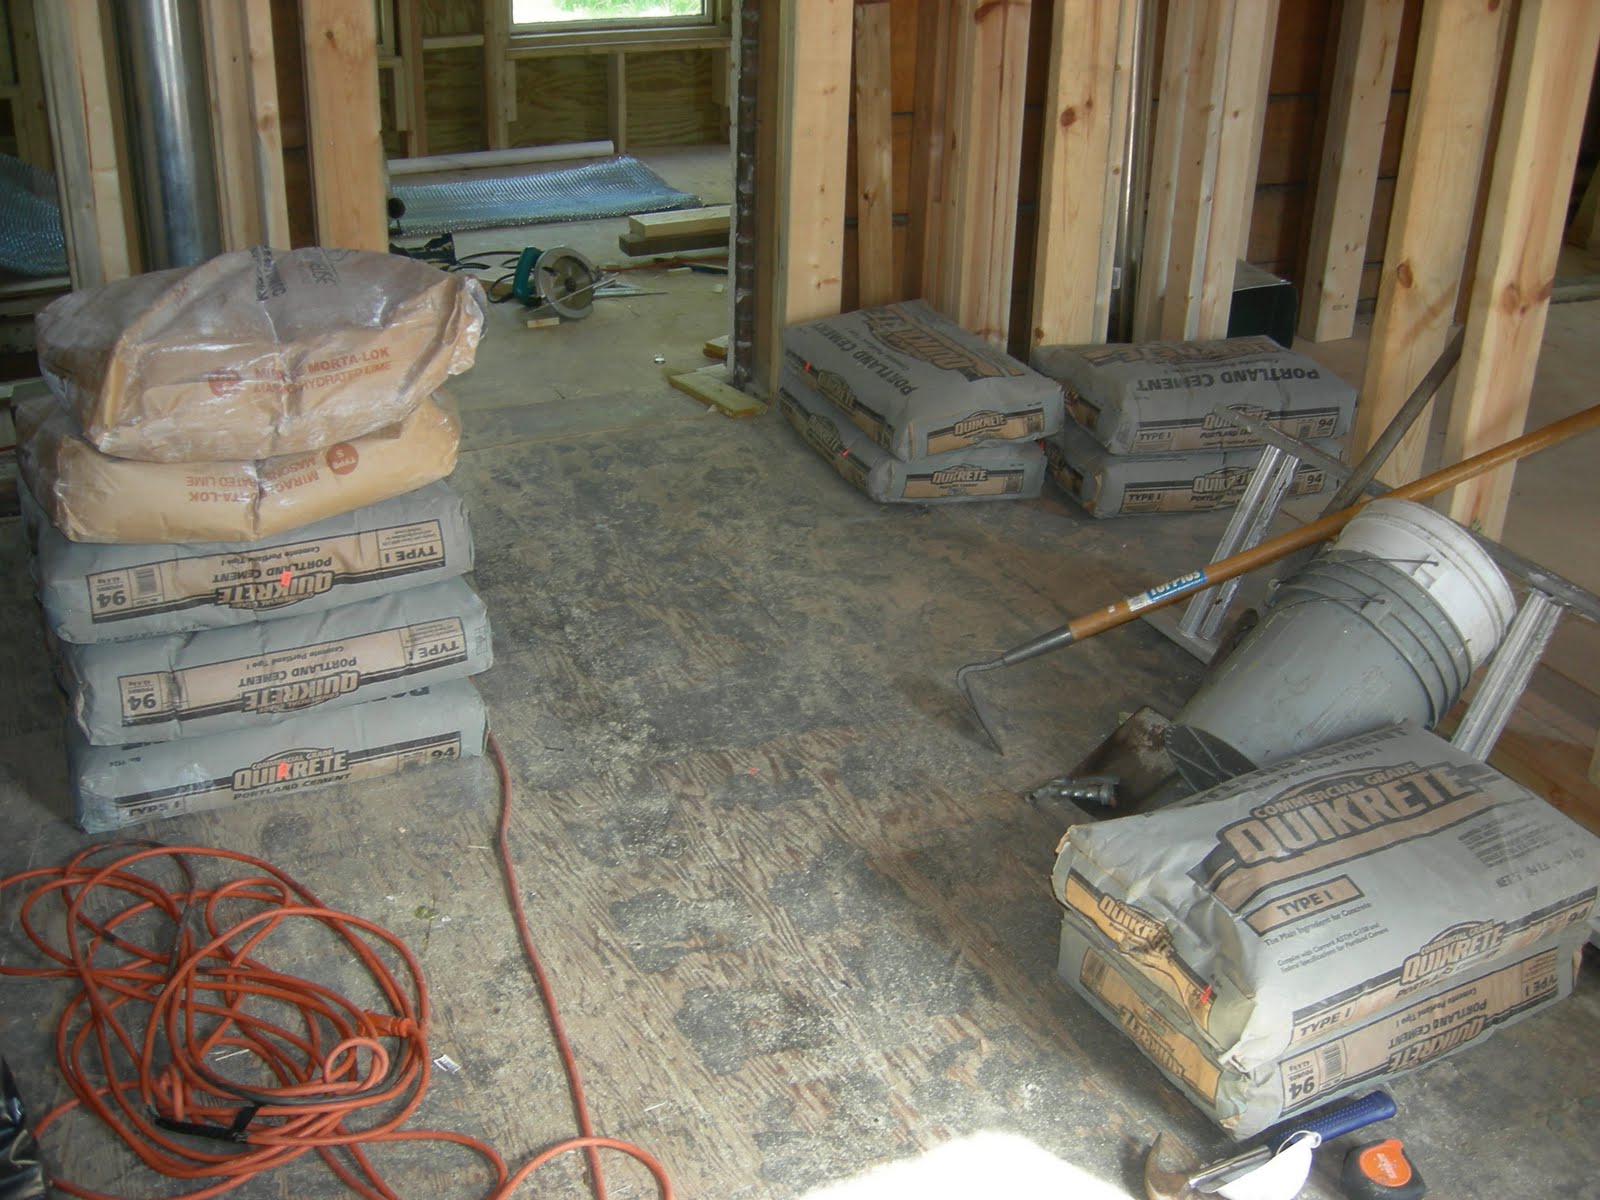
Portland Type I cement, Hydrated Lime, Shovels and Adhesion additives
Getting ready to mix the first batch in the bathtub pulled out from the second floor washroom
Doug's Hand off to the left and the start of the scratch coat
The scratches in the initial coating will allow the brown coat to fully adhere
The ground floor took a full day to mix and apply however towards the end a rhythm developed and the plaster went up a great deal faster. We also figured out how to mix the stuff so it was a workable consistency.
Starting the back
Closing the gaps
Doug and I beat It before it beat us.
Reinforcing for the stucco is a galvanized expanded steel mesh
Reverse progress on the two stairwell windows. They had to be ripped out and replaced with tempered glass since they are located on a stairwell.
Portland Type I cement, Hydrated Lime, Shovels and Adhesion additives
Getting ready to mix the first batch in the bathtub pulled out from the second floor washroom
Doug's Hand off to the left and the start of the scratch coat
The scratches in the initial coating will allow the brown coat to fully adhere
The ground floor took a full day to mix and apply however towards the end a rhythm developed and the plaster went up a great deal faster. We also figured out how to mix the stuff so it was a workable consistency.
Starting the back
Closing the gaps
Doug and I beat It before it beat us.
Sunday, August 22, 2010
Staycation Days 1 & 2
Putting Up the House Wrap
Wrapping a Taller Part of the House
Making Sure Things Are Done Correctly
Front with trim pattern waiting for lath
Back With Trim Pattern Waiting for Lath
And the Back With Trim Pattern Waiting for Lath
Sunday, August 8, 2010
All my ducts in a row
With the exception of one run (which should take an hour or so to install) all the duct work has been installed and the gas lines have been put into place with their valves, traps, and hangers. It marks a pretty big victory and ends a big segment of what needed to get done before it freezes again. Plumbing should be roughed in by the third week of August and then the electrical will be installed while Doug and I put up the stucco. A great deal of the forward progress comes from the fact I have been fortunate enough lately to have Lynch back in town. The endless punch list of things to do got reduced a bit more the past few days with firestops installed around the duct openings, the master bedroom floor repaired, and doors installed. By far the best door we installed the weekend had to be the doorway to nowhere (Pictured below). It will be primarily used as an exit for people I don't particularly like and or people I may owe money to... But with that said I plead the fifth, and here is the photo journal of a few key points:
The original balloon construction ledger (a 1"x3") which the whole master bedroom sat on
The floor joists were not even tacked into the uprights, just resting on the Ledger
The 2x10 Fix to the rescue
The uninstalled door to nowhere...
Lynch building the frame to support the door to nowhere
The final product
Testing its effectiveness
My super detailed plans for black pipe installation
Looks just like the plan...
The original balloon construction ledger (a 1"x3") which the whole master bedroom sat on
The floor joists were not even tacked into the uprights, just resting on the Ledger
The 2x10 Fix to the rescue
New floor bracing and joists installed
The uninstalled door to nowhere...
Lynch building the frame to support the door to nowhere
The final product
Testing its effectiveness
My super detailed plans for black pipe installation
Looks just like the plan...
Monday, July 19, 2010
Back to real time posting
Well it can universally be stated that ducting/sheet metal in general is maybe the least enjoyable medium to work with, but not only that the problem is exacerbated since it apparently takes six to eight times as long as expected to finish any part of the process. That being said I do believe that we well crossed the halfway point of the process this weekend, so the arbitrary goal of having it done by the end of the month still is within reach.
Lynch and myself started prepping the trunk line on Friday night. This included, but was not limited to assembling the duct work, making our own duct, screwing pieces together, getting frustrated, taping over holes, swearing, cutting our hands apart and then swearing more. Once we had the majority of things set up for Sat. we had a bonfire and got ripped.
For some reason staying up late on Friday and drinking ended up meaning that Saturday morning was a little fuzzy and ended up (thanks to a faulty snooze alarm and my laziness) started an hour late, despite Lynch showing up on time... That aside the day was spent putting in a few marginal runs and making the remainder of the trunk line.
Everything seemed to come together on Sunday though. The day was spent in a crawl space, not just a crawlspace though, a damp unfinished, Michigan crawlspace fully furnished with rocks, rusted debris, and cobwebs. What made the experience truly amazing though was the filth that rained down every time a banding strap was put into place. We ended on Sunday though with all the trunk line laid and over half of the runs tied in with accompanying dampers.
Since Sunday was the first day which noticeable progress was made with the ducting and I didn't have a whole lot of engineering work in the office, I took the day off and arranged for my buddy Tebbs to work all day. By lunch time we had all but one of the runs set up, and Lynch showed up ready to knock off the rest of the project. We fell a bit short because we ran out of materials (mainly 90 degree elbows), but in the end have the HVAC (havoc if you will) within a few work days of being finished.
Assembled pieces line ready to be taped, screwed and installed.
The gestalt product of the pieces from the above picture
Lynch hanging new lines
Tebbs taking enjoying the wide open spaces
Trunk line with a reducer getting ready for the crawlspace
If you look closely you can see two reducers...
This was the point I realized there were worse spaces than a dank basement
The trunk lives!
No explanation needed
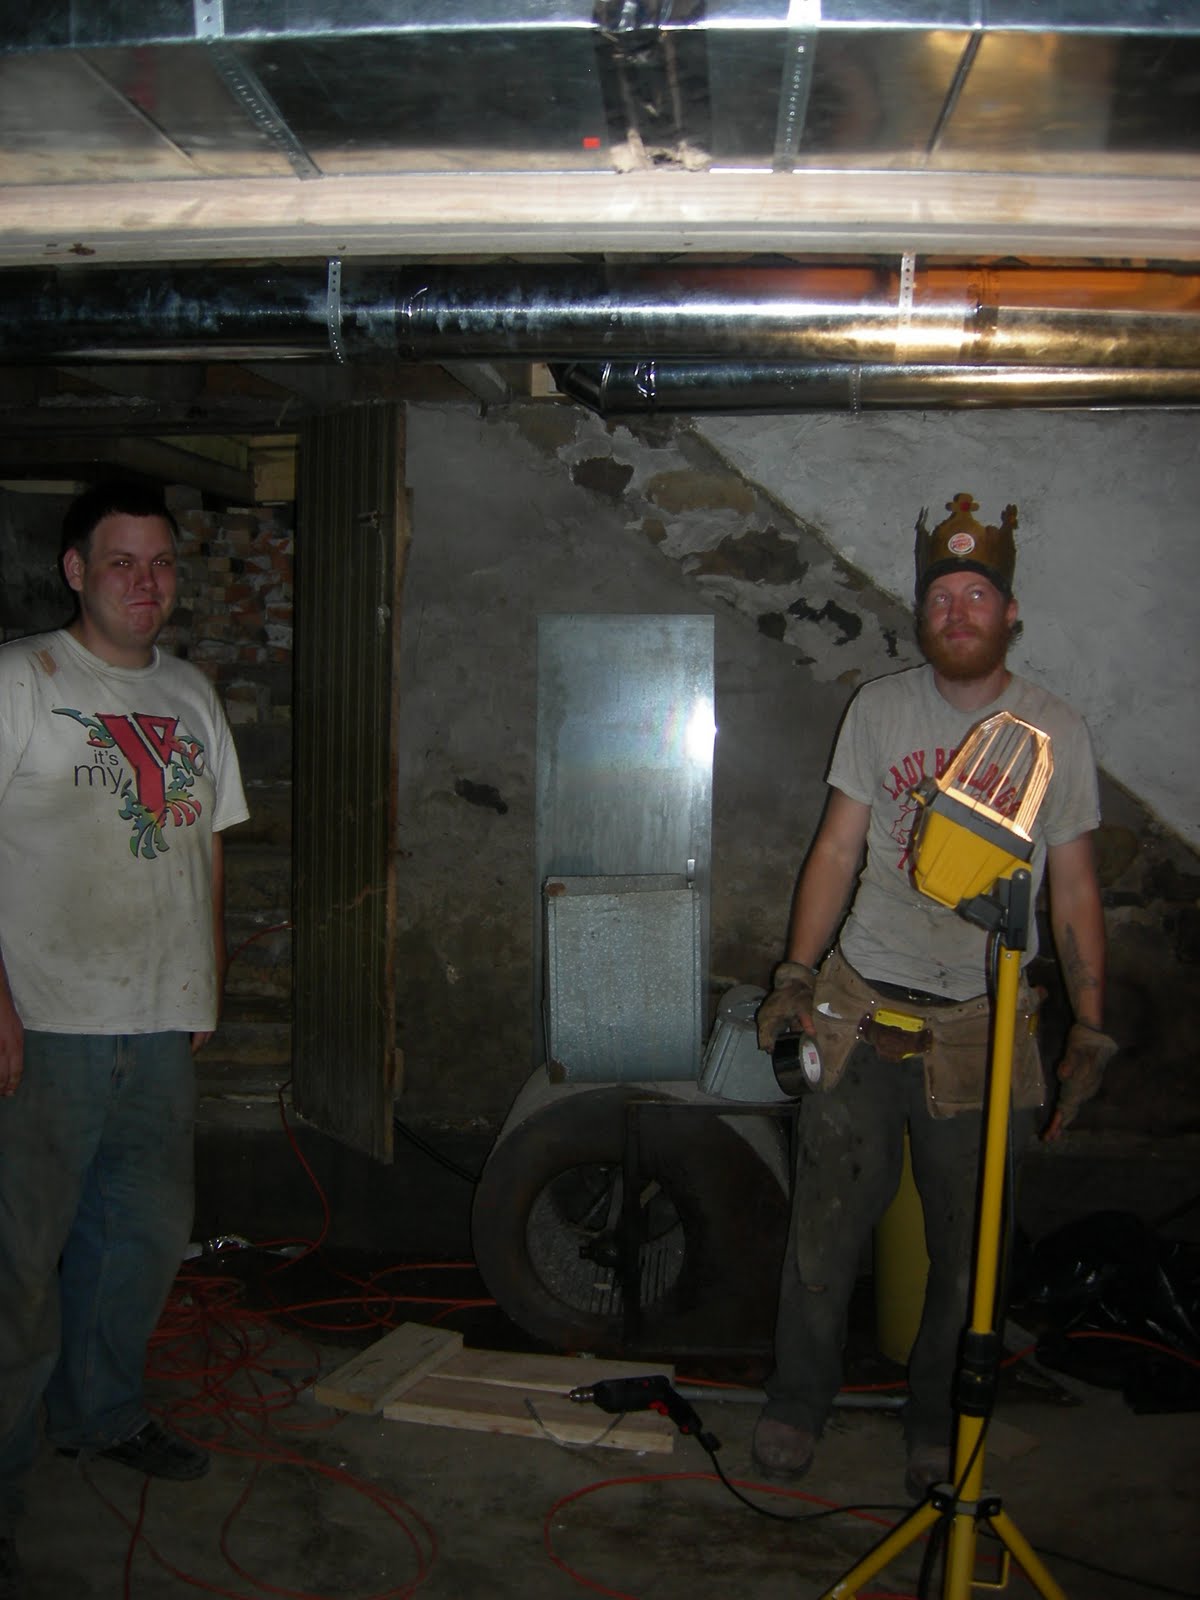
Probably an OSHA approved hardhat
Lynch and myself started prepping the trunk line on Friday night. This included, but was not limited to assembling the duct work, making our own duct, screwing pieces together, getting frustrated, taping over holes, swearing, cutting our hands apart and then swearing more. Once we had the majority of things set up for Sat. we had a bonfire and got ripped.
For some reason staying up late on Friday and drinking ended up meaning that Saturday morning was a little fuzzy and ended up (thanks to a faulty snooze alarm and my laziness) started an hour late, despite Lynch showing up on time... That aside the day was spent putting in a few marginal runs and making the remainder of the trunk line.
Everything seemed to come together on Sunday though. The day was spent in a crawl space, not just a crawlspace though, a damp unfinished, Michigan crawlspace fully furnished with rocks, rusted debris, and cobwebs. What made the experience truly amazing though was the filth that rained down every time a banding strap was put into place. We ended on Sunday though with all the trunk line laid and over half of the runs tied in with accompanying dampers.
Since Sunday was the first day which noticeable progress was made with the ducting and I didn't have a whole lot of engineering work in the office, I took the day off and arranged for my buddy Tebbs to work all day. By lunch time we had all but one of the runs set up, and Lynch showed up ready to knock off the rest of the project. We fell a bit short because we ran out of materials (mainly 90 degree elbows), but in the end have the HVAC (havoc if you will) within a few work days of being finished.
Assembled pieces line ready to be taped, screwed and installed.
The gestalt product of the pieces from the above picture
Lynch hanging new lines
Tebbs taking enjoying the wide open spaces
Trunk line with a reducer getting ready for the crawlspace
If you look closely you can see two reducers...
This was the point I realized there were worse spaces than a dank basement
The trunk lives!
No explanation needed
Probably an OSHA approved hardhat
Wednesday, July 14, 2010
The 4th of July Weekend posted on the 14th
My good friend Truett and his girlfriend Sandy were in town for the long fourth of July weekend. The four of us (T, Sandy, Amber and myself) decided that Saturday would be a good day to enjoy some "Pure Michigan" and spent the day on the beaches near Cross Village.
We started the work on Sunday the (the fourth) to discover that the annual memorial for my grandmother was put up on the porch railing.
We divided up the work with Lynch and myself buying materials, finishing up the stairwell, and cutting holes for the vents while Amber, Truett, Sandy and Doug laid the remainder of the sub-floor, swept, pulled nails and leveled the remainder of the first floor. Despite the post being a week and a half late and a bit out of order, the weekend was a lot of fun and we still managed to get quite a bit done.
Truett showing Sandy how to pull nails like a pro
... And the finished board
We started the work on Sunday the (the fourth) to discover that the annual memorial for my grandmother was put up on the porch railing.
We divided up the work with Lynch and myself buying materials, finishing up the stairwell, and cutting holes for the vents while Amber, Truett, Sandy and Doug laid the remainder of the sub-floor, swept, pulled nails and leveled the remainder of the first floor. Despite the post being a week and a half late and a bit out of order, the weekend was a lot of fun and we still managed to get quite a bit done.
Truett showing Sandy how to pull nails like a pro
... And the finished board
Sunday, July 11, 2010
Lucky Duck-ty
4"x12" Straight Stack boot to 6" collar
Pieces of the trunk line next to starter collars and a floor register
The complete run of duct into one of the kitchen vents
8"x12" Dampered trunk line with 4 takeoffs
The Whye to the Laundry room and first floor bathroom
A bag that fell on Lynch while putting in an elbow
What could be in it?
About $16 (face) worth of silver coins from the 30's
Riser and Whye to second floor bedroom
Plenum caulked and drying
Capped Trunk line
Subscribe to:
Posts (Atom)